
Creating a barn door from plywood is a moderate-level DIY project that combines rustic charm with functionality.
Prices may vary based on quality, location, and specific suppliers. Always check with local hardware stores for the most accurate pricing.
Materials
- Birch or Eucalyptus Plywood (4-18 mm thick is recommended)
- Boards (for the frame)
- Screws
- Wood glue (INT or EXT depending on your final project’s goal)
- Wood filler (optional)
- Sandpaper (100-150 and 180-220 grit)
- Primer, paint, or stain
- Hinges (heavy-duty, depending on the barn door size)
- Door pull or handle
- Decorative hardware (e.g., strap hinges or sliding hardware kit)
Measure and Design
Sketch your barn door idea, considering whether you prefer a simple ‘lazy’ design or something fancy with additional trim or cross braces.
Measure the height & width of the opening space where the barn door will hang. Add a few extra centimetres to both dimensions to allow for possible adjustments.
Cut the Plywood
Cut the plywood yourself only if you are a skilled craftsman. Otherwise, use cut-to-size panels crafted by professionals. Ensure the cuts are straight and accurate.
Create the Frame
Measure and cut the selected boards to create the frame. Usually, you'll need 2 vertical pieces (stiles) and 2 horizontal pieces (rails). In case, if cross braces are needed, cut additional pieces accordingly.
Lay out the frame pieces on a plain surface for assembling. Apply wood glue to the joints and secure them with screws. Use clamps to hold the frame together while you screw it. Check the frame is squared by measuring it diagonally from corner to corner.
Attach the Plywood Panel
Position and align the plywood panel on the back of the frame.
Use wood screws or adhesive to attach the plywood to the frame. Place screws every 10-12 centimetres around the perimeter of the panel to secure.
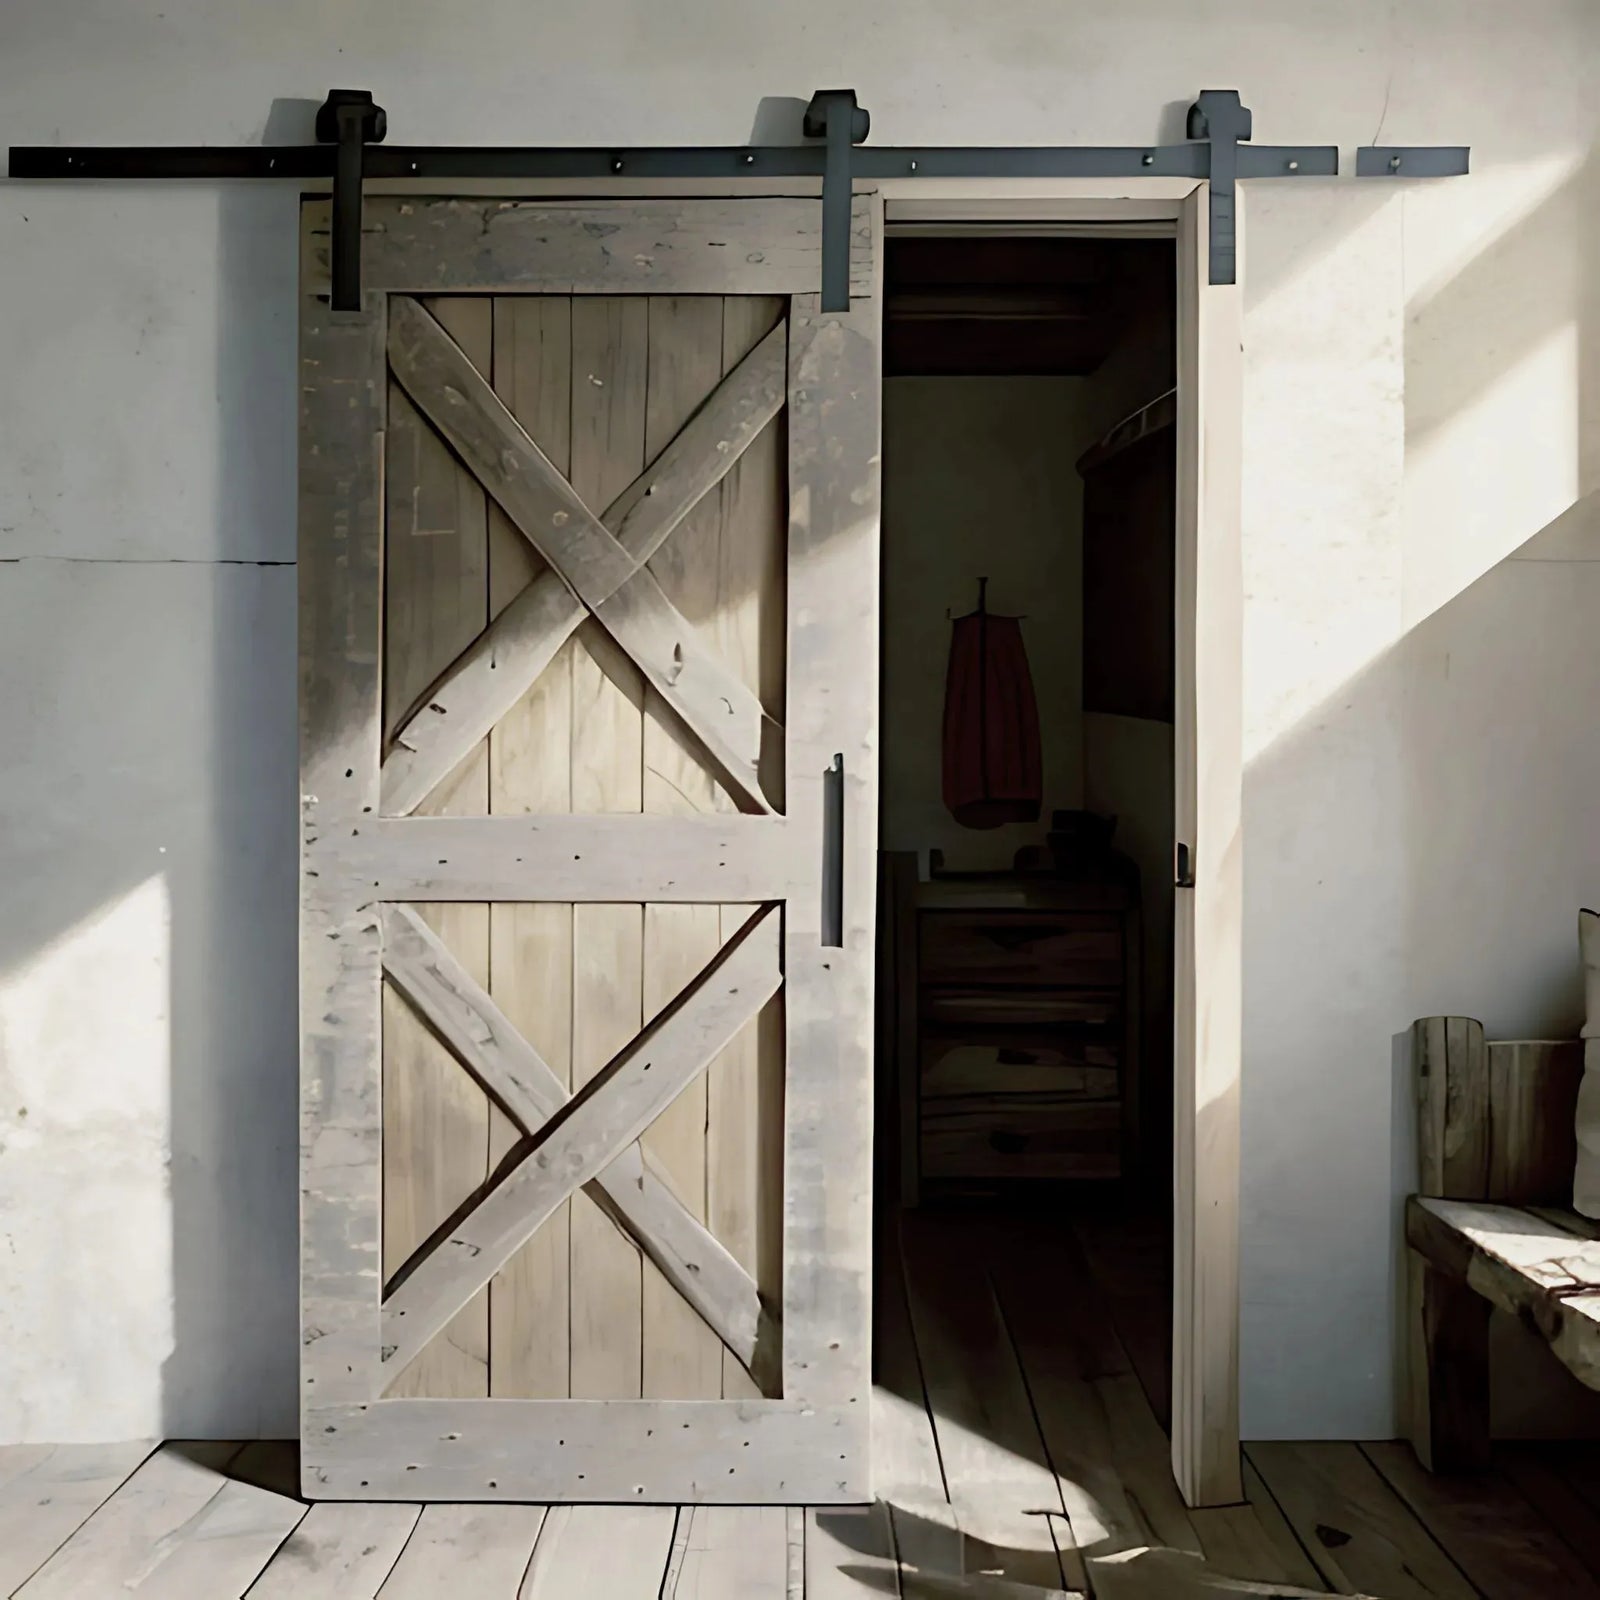
Add Decorative Elements
For a traditional rustic barn door look, add cross braces to the front of the door (“X” pattern is a traditional one, but you may choose any other design). Secure with screws and wood glue.
Attach decorative hardware or trim to make the appearance of your door more festive.
Finish the Door
Smooth all surfaces and edges with sandpaper to remove spots and splinters.
Gaps and exposed holes look quite authentic, however, in need to avoid them you can apply wood filler. Once dry, sand the filled in spots again for a smooth finish.
Use a primer if needed, then thoroughly paint or stain your door. Make sure each coat to dry completely before applying additional coats. Check for any missed areas of paint or stain and make any final touch-ups.
Install the Door
Mark the locations for your hinges both on the door and the door frame. Pre-drill holes and attach the hinges to the door. Attach the hinges to the frame, ensuring the door is levelled.
Position the door handle or pull at a comfortable height. Drill holes and secure the handle with screws.
Final Adjustments
To check the fit open and close the door to ensure it swings and fits well within the movement. Make any needed adjustments to the handle and hinges.